
One of THE MOST asked questions we get is “what do you use for a filter?”
There are many different theories about water filtration/purification. Some like pump style, some like the Life Straw, some use Sawyers, and some just don’t filter at all. I am definitely one that filters. After having the pleasure of being stuck in the woods during a snow storm while suffering from the “symptoms” of giardiasis; I can tell you it’s ZERO fun. We did not have any filters, but we were boiling our water, and I still got very sick. I will not drink unfiltered water while on a hike. In fact I even sometimes double filter, and I may have been known to have even filtered water from “clean” spigots.
Growing up in the Pacific Northwest right near the Pacific Crest Trail, I have had the opportunity to see many forms of filtration. I have seen chlorine, iodine, and every filtering contraption you can think of. I was pretty sure of what route I was going to take, but then after a couple days in a cabin it was set in stone.

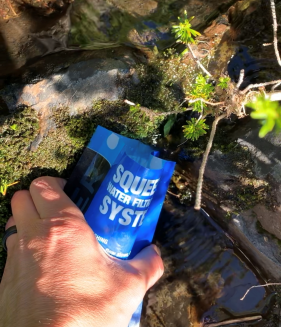
We had several people staying in this small shelter, and nobody was going anywhere anytime due to weather. Lots of water was needed for cooking and drinking. There was several empty one gallon water jugs in the shelter, so we employed them for our water needs. Long story short, we spent about 3 days filtering water all day for 8 people to use. Gallons upon gallons we filtered using the SAWYER SQUEEZE . Hours were spent just sitting in this shelter, dunking our dirty bottle into the bucket our water was collected from the creek in, then filtering it into all the gallon jugs.
In this post we will discuss some comparisons between the Sawyer Squeeze and the Sawyer Mini. I do not discuss the new(ish) Sawyer Micro Squeeze, because I have not tried it, nor heard anything good about it thus far.
Sawyer Mini

- Filter (1.3 ounces)
- 16 oz pouch
- Cleaning plunger (syringe)
- Drinking straw
Sawyer Squeeze

- Filter (2.5 ounces)
- Cleaning plunger
- 2 32oz pouches
- Inline hydration pack adapter
- Gravity tube
- Mesh bag with hanging loop
*NOTE- THE SAWYER PACKAGES ON AMAZON MAY NOT HAVE ALL THE ACCESSORIES LISTED ABOVE. THE PACKAGES I USED FOR PURPOSES OF THIS POST WERE BOUGHT LOCALLY.
What do WE keep from the package?
There is a lot of accessories that come with these! Everyone loves accessories! Yes, that is often the case. When it comes to packing light however, it might not be the case. It’s so funny seeing how many Sawyer accessories are in hiker boxes near the Trailheads and resupply points on the PCT!


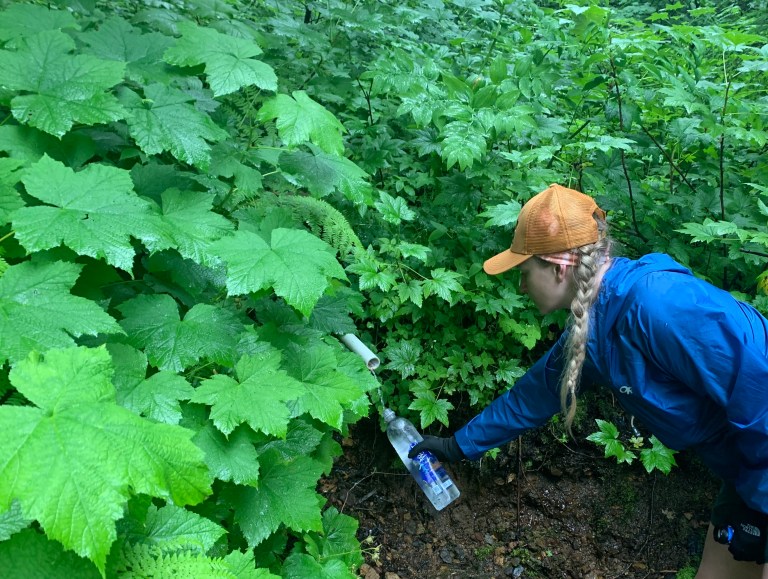
Out of everything that comes in the package, the only item other than the filter we will take is one of the 32oz bags, with the top cut off. This is to facilitate filling out of very shallow streams.
The white cap that comes with the Squeeze is discarded and in its place we use a flip top cap from a smart water bottle. It seems to be better for drinking and filling, plus you don’t have to worry about keeping track of the little clear plastic cap that comes with the original white one. It is important to keep that drinking spout clean!

We keep the cleaning plunger at home so we can use it for a big clean when we get back home. Otherwise on the trail for backflushing we simply use another smartwater bottle.

As far as the hanging bag, inline adapters etc go, we simply just don’t use them. Some like to use this because you can hang and walk away. You can let the filter do its thing while you do other things like set up the rest of camp. There is definitely an appeal to this, but we just don’t like carrying all the extra stuff. If we were to start hanging our water, we would likely use a Platypus bag in place of the Sawyer bags. Sawyer bags are small and compact, but have been known to burst fairly easy.
The inline parts can also be used for a camelback type system. I am not able to go into detail with the pros and cons of this, as I do not use camelback type systems.
THE MINI IS CHEAPER AND LIGHTER. WHY GO WITH THE LARGER OF THE TWO?
Don’t get me wrong- I’m not suggesting that the mini doesn’t serve a purpose. In fact, I like to keep a mini around for things such as a daypack, hunting pack, and such. One could also keep a mini in their glovebox or survival kit. It is light, compact and easy to stow. I won’t carry the mini in an extended backpacking kit however because of one main factor- the flow rate.
If you know me, you know I can get a little snobby with weights. I’m that guy that at one point cut my toothbrush in less than half in order to reduce weight. (I did eventually switch to a small folding toothbrush, however. I was tired of putting my dirty fingers in my mouth and having toothpaste spit all over my hands.) When it came to picking a filter, I chose to go with the heavier. As stated above, the flow rate for us is the main reason.


FLOW RATES
The flow rate of the mini has been known to slow quicker than the squeeze. When you are on a long hike and have to filter several times per day, you want a filter that keeps its quicker flow rate for as long as possible. You want to be able to fill quick and get back on the trail, especially if you are in adverse weather or need to get somewhere quickly. On our last long hike, another reason we found to be grateful for a quick flow was that we were constantly running (literally at times) from mosquitoes. At the water sources the mosquitos were the thickest, and even the fastest filtering seemed to take an eternity.
The Sawyer mini fills one cup of water in 9.17 seconds
The Sawyer Squeeze fills one cup in 6.48 seconds
FILTER SHARING
One of the downsides of the Sawyer is the freezing potential. In the instructions and on their site, Sawyer states that if you so much as SUSPECT that your filter has frozen, immediately throw it away and get another one. Why is that? I couldn’t tell you- science and stuff. But I don’t want to take the risk and will just follow their instruction. Where you run into problems is when this happens while you are a long way away from any place where you can just go grab a new one. This happened to me once on the PCT in Washington. Luckily a friend was able to go buy me one and drive probably 60 miles or more to meet up with me at a highway crossing to bring a new one. Until I was able to meet up with him, I had to share another hiker’s filter. Not a huge deal, but I did increase the work his filter was being asked to do. If it was a mini that tends to slow faster, I could have set him up for difficulties down the road.
EXTRA DIRTY WATER
I have filtered out of some VERY questionable water sources. Some were so green or brown and so full of bugs that I thought for sure my filter was going to be immediately clogged. If I had been using the mini, I guarantee it would have. When I backflushed after some of these, the sediment and insect life that came out was shocking. (Try backflushing into a clear glass after some dirty water and see for yourself. It’s kind of fun, really!)

SO WHAT DO WE CARRY FOR OUR WHOLE WATER SYSTEM?

We carry pretty simple kits. We both carry the same, in case we were to be split up or if one of us was to lose something.
- 33oz. Smart Water Dirty bottle
- Used for dirty water ONLY. As you can see from the picture, it is clearly marked as the dirty bottle.
- 33oz. Smart water Clean bottle(s)
- This depends on where and when you are hiking. In the desert I might carry 3, so I would have 4 liters on my back (including some dirty water in my dirty bottle). In Washington during the summer, we each carried one dirty and two clean 32oz bottles.
- 17oz. Smart Water Clean bottle
- We have come to learn it is nice to have the smaller bottle for clean water/mixed drinks/coffee. It fits in a hip belt pocket much easier than the 32oz bottles. Having it right there on my side is also helpful in reminding me to actually drink my water, which is always a struggle for me.
- Sawyer Squeeze Filter with a Smart Water Bottle flip-top cap
- 32oz. Sawyer bag with the top cut off for scooping shallow water
- Spare O-ring/gasket
- We each carry a spare in our toiletries bag. It is easy to lose them out of the filter if you aren’t careful. This typically happens from screwing your filter on too tight to the bottle.
IN SUMMARY
You should always bring a filter with you on hikes. Day hikes you can typically get away without having one, but it still isn’t a bad idea. On any long hike, don’t rely on carrying a few bottles of water without the ability to SAFELY get more water. Having the availability of clean water not only makes it safer for you, but also brings a peace of mind. Remember to always plan your hike with water resupply/sources in mind, so you don’t find yourself in a bad spot. The Sawyer filters are the best option we have found to keep you on the trail!

